
Last Updated on November 18, 2022
This post will explain in detail How to Maintain Your Keyboard.
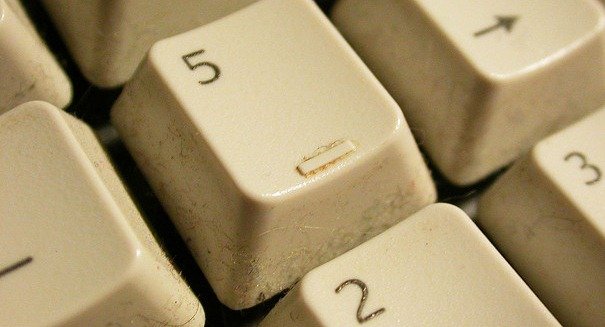
Mechanical keyboards have many advantages over the flat-panel keyboards commonly found on laptops and Macintosh computers. For tech geeks who use mechanical keyboards, of course, they often face problems such as dust that accumulates under the keys, or the threat of being splashed by water that can hit the device inside.
Maintaining the mechanical keyboard is the best thing you should do so that your mechanical keyboard can always work well. Removing dust, dirt, water, and various small objects that can interfere with the mechanical performance of the keyboard is something you should pay attention to.
The Easiest Way to Maintain Your Keyboard
What is one of the most important things after you buy a gaming product that you have always wanted? Yes, take care of it. All equipment, especially electronic equipment, of course requires sufficient maintenance. Moreover, these products are products that are used every day, including keyboards.
The keyboard works hard when you use it to play games. The threat of dust and dirt can not be separated from the keyboard. Not only that, gamers also often chew snacks while playing games so that the crumbs fall on the sidelines of the keyboard without realizing it.
You also sometimes accidentally touch the keyboard immediately after eating fried foods or other oily foods. It all makes dirt stick firmly to your keyboard.
What is the effect? One, the keyboard becomes unhygienic. Many germs and bacteria thrive around the keyboard.
Second, the dirt will eventually enter the keyboard through the sidelines of the keyboard so that it will interfere with the performance of the keyboard keys. Not infrequently, the dirt causes a short circuit when it enters and sticks to the circuit board which is located inside the keyboard.
In order to always last, the keyboard should be cleaned regularly. It’s easy, really. The following are surefire tips for cleaning a mechanical keyboard.
1. Unplug the USB keyboard from the computer
Don’t forget to always unplug the USB keyboard from the computer, especially when the computer is on. Many cases occur on the keyboard short circuit due to cleaning the keyboard with a connected state on a computer that is still on.
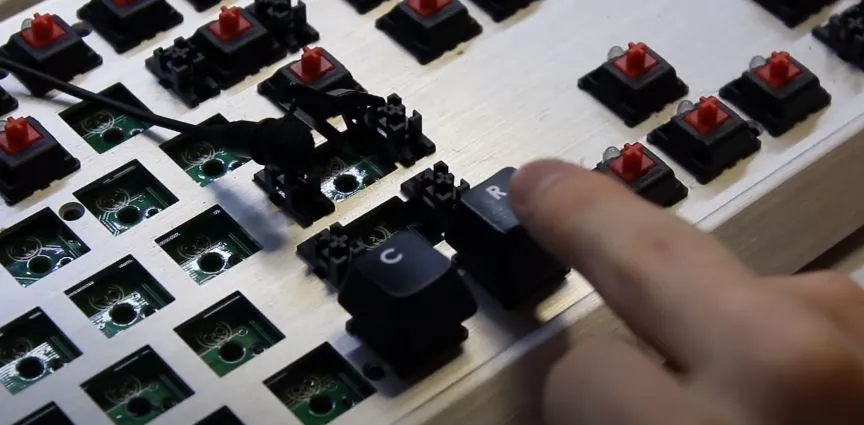
2. Remove the keyboard keycap
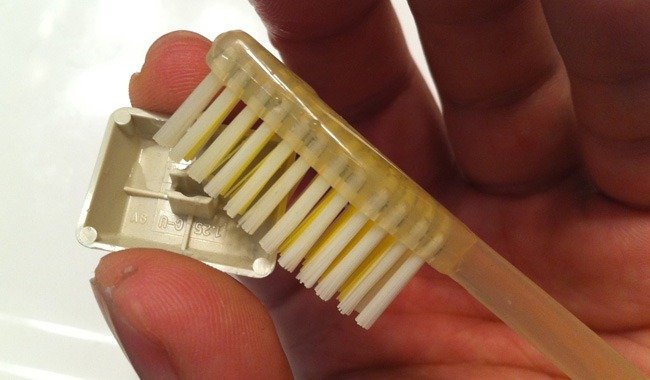
The way that must be done is to remove all the keycaps of your mechanical keyboard. Use a cap puller to remove it. Or if you are used to it, you can use your fingers. Be careful in removing it so that the stem does not break or become loose. Using a toothbrush or any type of brush is very useful for cleaning the dirt behind the mechanical keyboard keycaps. Soaking it in water is also a way you can do it.
3. Clean large particles
The trick is to turn the keyboard over and tap gently so that heavy particles are tucked in between the switches. Do this using a soft brush and sweep all the dust in the gaps of the switch and the PCB surface evenly. This will be easier if your mechanical keyboard has a plate made of aluminum or metal. Plastic and rubber edging plates are a bit tricky to clean but can still be done with a small brush. The next thing is the most important.
4. Remove dust
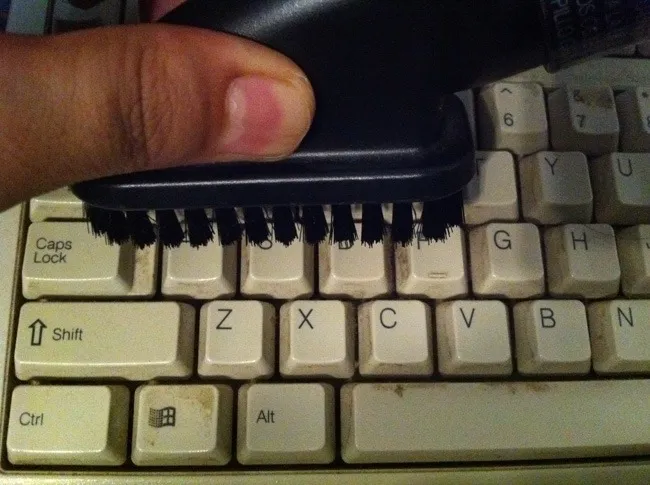
You can also use a vacuum cleaner to suck up the dust. Or you can also use a blower to blow away all the dust. After you have done that, the next step is to clean the remaining dust with a brush or toothbrush.
Removing dust on the mechanical keyboard is a very easy job. You only need to use a toothbrush, or brush to sweep all the dust that is on the surface of the mechanical keyboard PCB. Do this after all keycaps are removed.
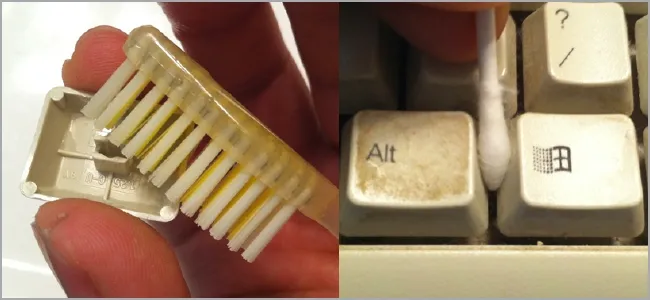
5. Get rid of germs by using alcohol to clean the keycaps

Cleaning a mechanical keyboard with alcohol is the right way. You can use the alcohol for the keycaps by soaking the keycaps in alcohol and cleaning them. You can also use a cloth or tissue to wipe the keycaps until you are sure they are cleaned and ready to use.
6. Clean stains or spots on the keycap
Often times we find the keycap turning brown because of the dirt that is firmly attached to it. To make it shiny again, you can use soda liquid to clean it.
The trick is to remove all the keycaps and soak them in soda for about 30 minutes. After that, wipe and dry the keycap until it is completely dry.
7. Reinstall the keycap
After it feels clean and dry, put the keycap back on the switch. Avoid liquid entering the keyboard to avoid a short circuit.
The steps above are only limited to cleaning the keycaps and the surface on the mechanical keyboard. Next we’ll move on to the slightly more complicated part.
How to Clean Mechanical Keyboard Switches
1. Remove All Mechanical Keyboard Keycaps
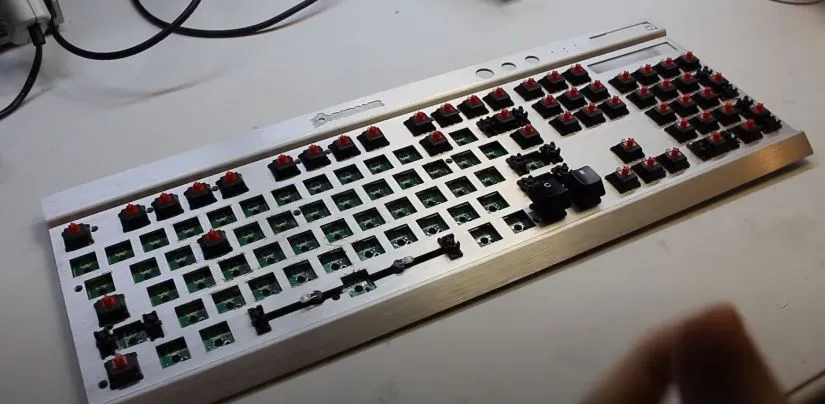
Do this step when you want to clean the switches on the mechanical keyboard. After removing the keycaps you will see that all that is left is the switch, plate, and PCB.
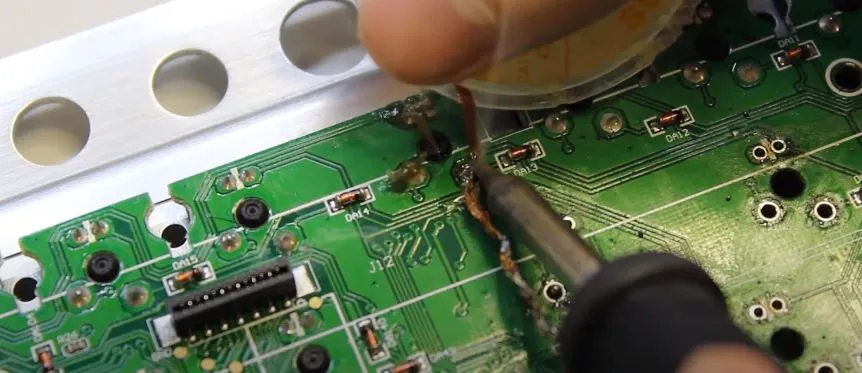
2. Remove Switch from PCB
This will be very easy to do on a mechanical keyboard that features a hot swappable switch, because you can remove the switch without having to desoldering the switch from the PCB. For mechanical keyboards with a standard PCB, you must desoldering the switch to remove it from the PCB.
Assume you have finished removing the switches from your mechanical keyboard PCB. And we will immediately prepare for the next stage, which is cleaning the switch.
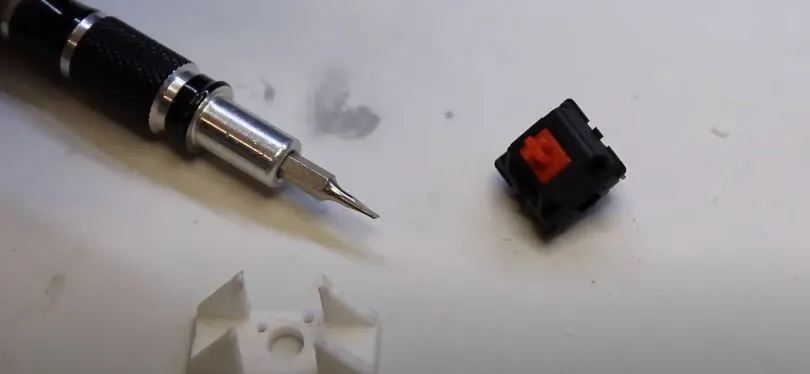
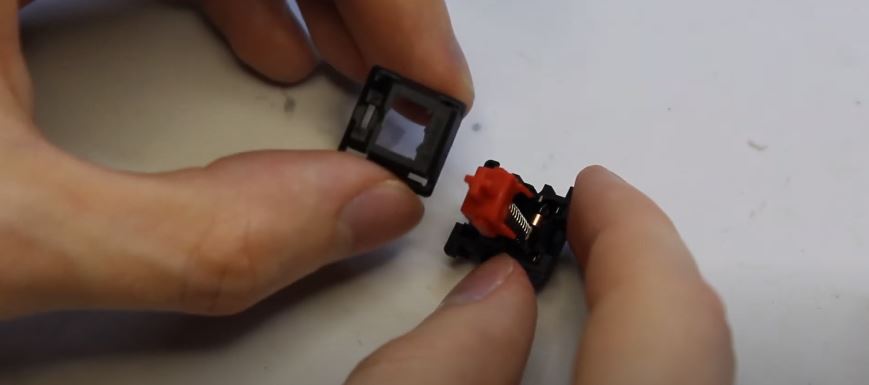
3. Open the Switch
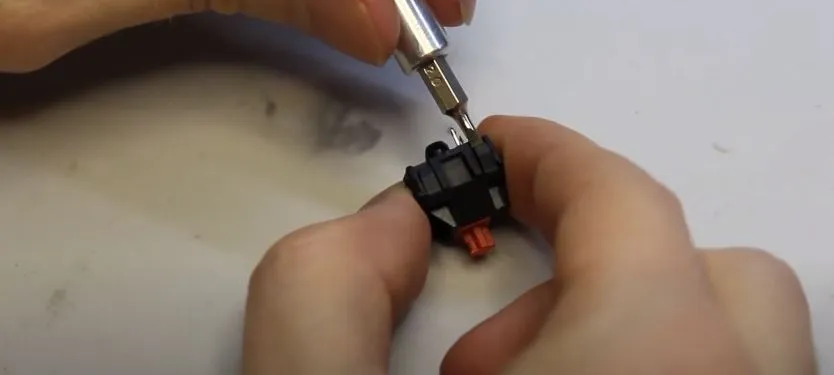
Opening the longest switch is by using a switch opener that you can buy on Amazon at a very cheap price. But you can also open it using a screwdriver. You just need to dig out the locking lever between the top housing and the bottom housing that hold each other.
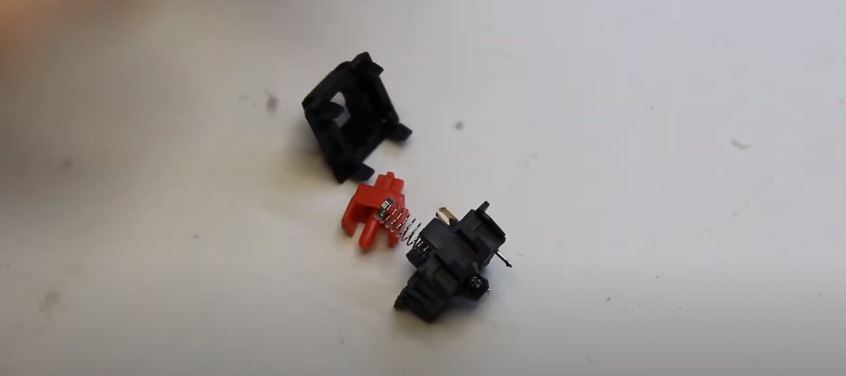
After you successfully open the switch, you will find 4 components on the switch, namely stem, spring, top housing, and bottom housing.
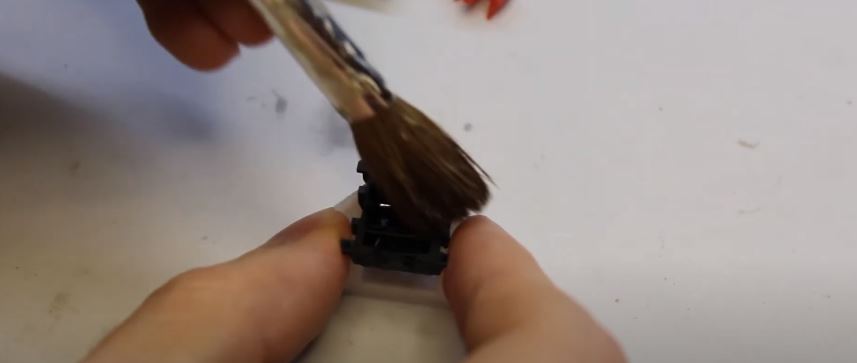
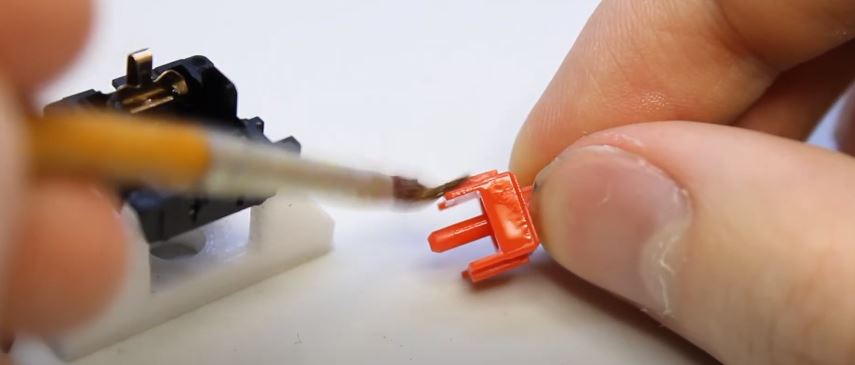
4. Clean All Switch Components With A Soft Brush
5. Lubricate all switch components using Switch Special Lubricants
You can use switch lubricants from Super Lube or G-Lube Glorious Switch And Stabilizer Lubricant which have very good quality. You only need to apply lubricant evenly to the spring, the inside of the top housing and bottom housing, and on the outside of the stem that is in direct contact with the top housing.
Lubricating all switch components aims to minimize friction between the plastics to make them more durable and this also aims to make the switch sound quieter and smoother.
6. Reinstall all switch components
After you feel sure all the switch components have been lubricated evenly. The last step is, you just combine all the switch components. The following steps are how to install all of the switch components: Place the spring on the bottom housing of the switch, place the stem on top of the switch spring that has been placed on the bottom housing. The last one is to install the top housing switch. You have finished combining all the switch components.
You have successfully cleaned and lubricated your keyboard’s mechanical switches. Do all these steps on all switches. Cleaning the switch will take 2 to 3 hours. But you will feel the benefits are very much. Your Switch will be smoother and quieter, and more comfortable for typing or playing games.
To lubricate the stabilizer is a very easy step, you can find how to lubricate the keyboard mechanical stabilizer in this article: Lubricate the keyboard mechanical stabilizer using a toothpick.
How often do you clean the mechanical keyboard?
For ordinary dust and dirt you can use a soft brush to clean it once a week. For dirt that has stuck to the PCB and Plate you can do it every 3 months. As for the switch, you can clean and lubricate the switch once every 6 months. This is the most ideal mechanical keyboard cleaning schedule so that your mechanical keyboard is maintained from dust and dirt and of course your mechanical keyboard will be more durable.
Conclusion
Dust, dirt, or other small particles can cause damage to the mechanical components of the keyboard such as PCB, Switch, Stabilizer, and Keycaps. By cleaning and maintaining the mechanical keyboard on a regular basis you can keep all components on the mechanical keyboard always working properly.
In addition to making the mechanical keyboard look cleaner, taking care by removing dust, dirt, or small particles can make the mechanical keyboard work smoother, because you have succeeded in removing dust that can cause friction between the mechanical components of the keyboard.
If you do this regularly, then you will be able to spend more time with your mechanical keyboard. You can also sell your mechanical keyboard for a better value than a mechanical keyboard that has never been cleaned or maintained.
https://www.pinterest.ca/pin/625437467007761002/Kizaru is a fan, collector, and has a huge addiction to mechanical keyboards. Kizaru has a collection of dozens of mechanical keyboards that come in different sizes and use different switches. He also frequently contributes to various forums that discuss keyboards such as Reddit and GeekHack.